Have you ever wondered what secrets lie beneath your attic’s floorboards, especially when it comes to the dusty, old insulation that’s supposed to keep your home temperate? Attic insulation removal might sound like a daunting task, but it’s a critical step in maintaining your home’s energy efficiency and comfort.
In this comprehensive guide, we’ll walk you through the process of removing your old attic insulation. By the end of this post, you’ll be equipped with all the knowledge you need to tackle this project, ensuring your home stays cozy year-round.
Importance of Attic Insulation Removal
Attics can be harboring a world of problems-from outdated insulation that doesn’t meet today’s energy efficiency standards to potential health hazards like mold or animal infestations. Removing old insulation ensures that your new insulation will perform and that you’ve eliminated any risks to your home and family.
Safety First
Before you even consider stepping foot in your attic, safety must be your priority. Proper ventilation is key to prevent the inhalation of harmful fumes from insulation materials.
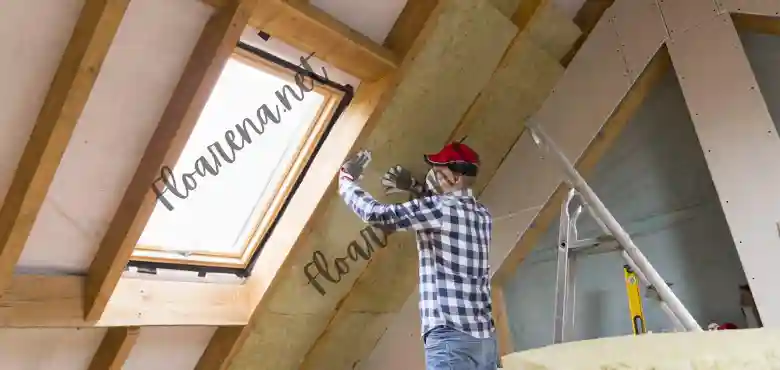
Protective Gear
You’ll need more than gloves for this job. A respirator, protective eyewear, and full-body suit help shield you from old insulation and any airborne particles.
Ventilation Requirements
Attics can be stuffy and hard to breathe in. Proper ventilation with fans, open windows, and the use of a face mask designed for insulation work will keep the air as clean as possible.
The Setup Stage
Prepare your space and tools. This way, you can work without making many trips up and down the attic ladder.
Clear the Attic Space
Remove any unnecessary items from the attic. You’ll need a clear workspace to move around and access the insulation.
Tools of the Trade
The standard tools for attic insulation removal include a utility knife, insulation vacuum, and a large container for the insulation material. Visit https://www.antheminsulation.com for tools and services that cater to your insulation needs.
The Nitty-Gritty of Removal
Stripping insulation isn’t glamorous work, but it’s necessary. There are techniques you can use to make the process smoother.
Safe Techniques
Cutting the insulation into manageable sections can speed up the process. Using a vacuum to remove it can also reduce the risk of injury.
Disposal Care
Where are you going to put all that removed insulation? It’s best to have a plan in place for its safe and compliant disposal.
Post-Removal Clean-Up
Once the old insulation is out, don’t throw down the ladder and call it a day. There’s still work to be done to ensure your new insulation can work its magic.
Check for Debris
Perform a thorough cleaning of the attic space. You don’t want any stray bits of insulation preventing your new insulation from doing its job.
Inspection Time
While the attic is bare, take the chance to check for signs of structural damage, animals, or mold. This is a crucial step in maintaining a safe and healthy home environment.
Wrapping Up Your Attic Insulation Removal Journey
In summary, tackling attic insulation removal is no small feat, but with the right tools, safety precautions, and a step-by-step approach, it is workable for the DIY enthusiast. This project not only enhances your home’s energy efficiency but also protects your health by removing outdated or contaminated insulation.
Remember, careful planning, adherence to safety protocols, and patience during each phase will lead to a successful attic insulation removal process, setting the stage for a more comfortable and energy-efficient home. Want to learn more? Don’t forget to explore our other articles before you leave